起步
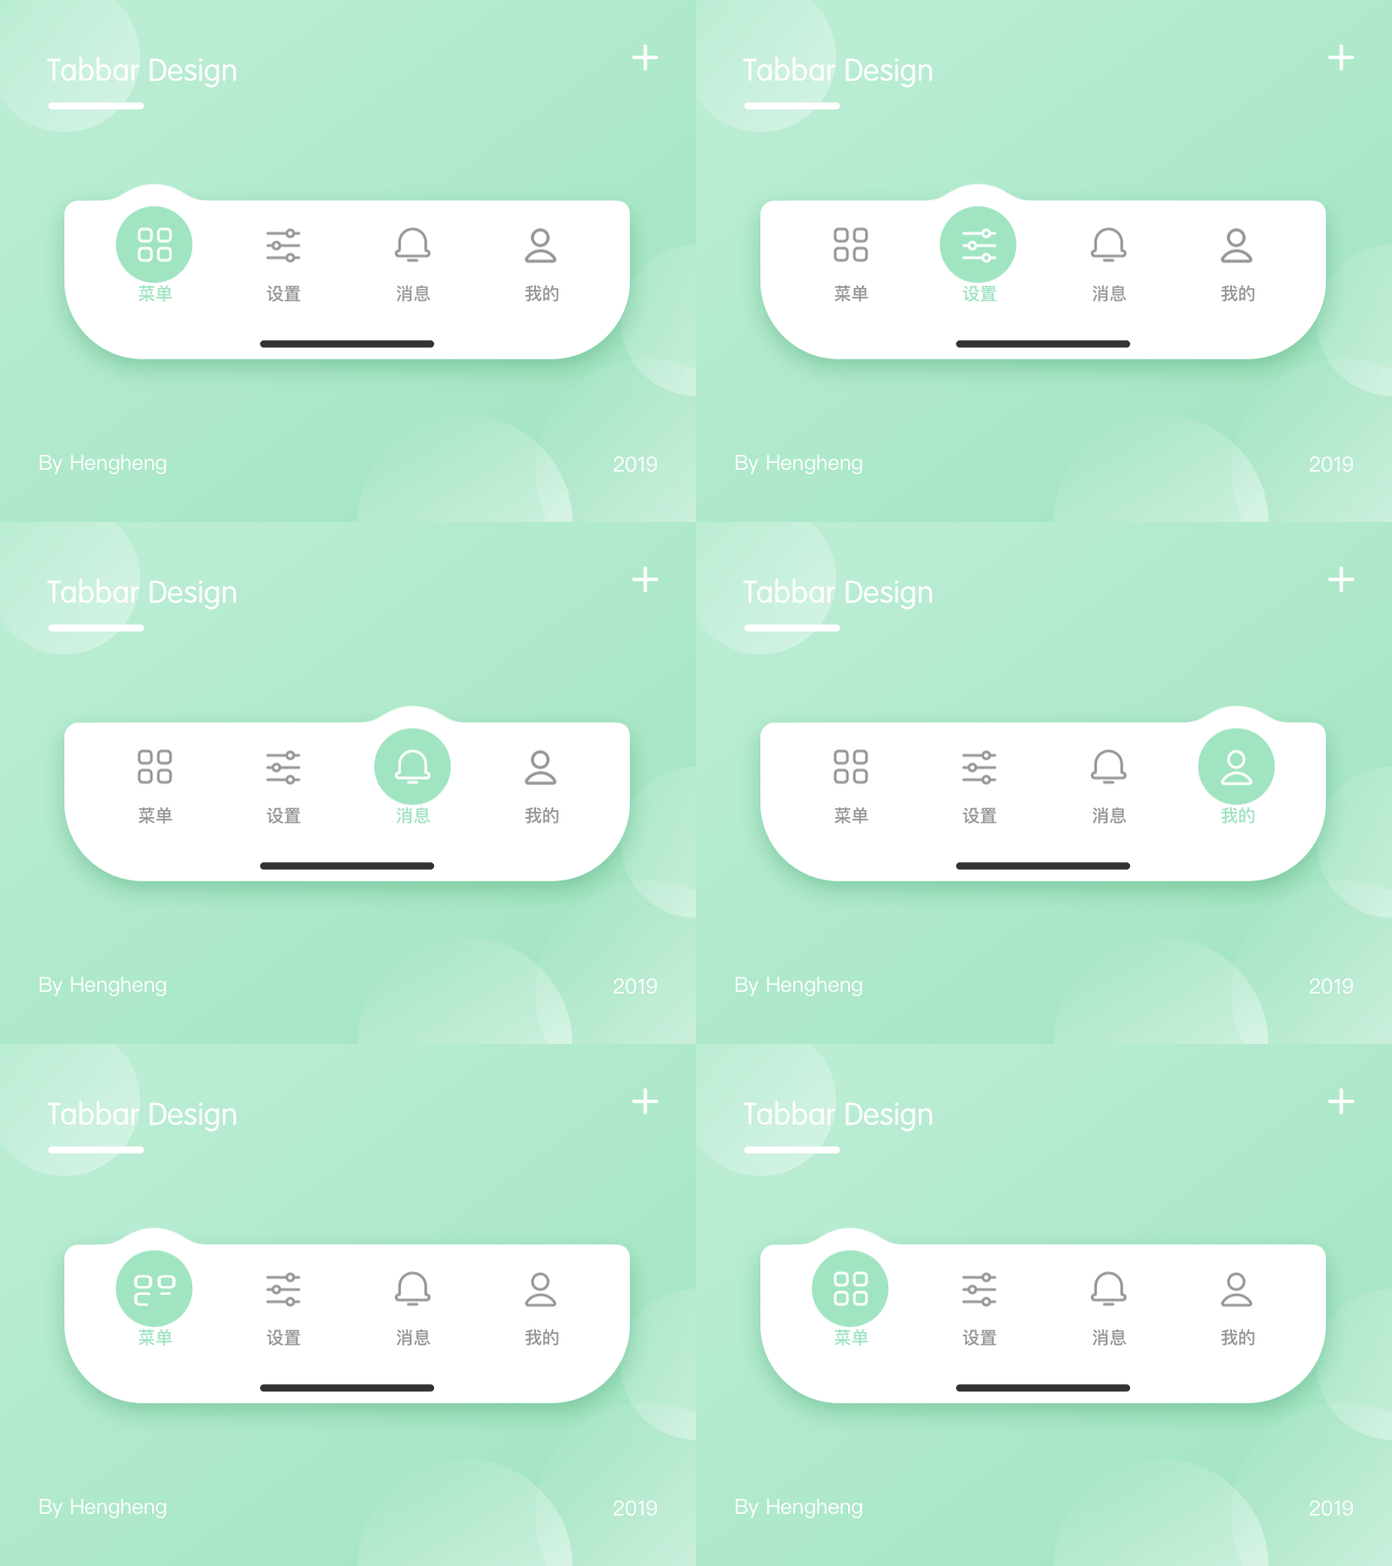
这是一个效果做得特别好的tabBar,接下来我来封装一个tabBar组件,究其原理都是一样的,只是样式不同。

准备图标
首先我准备了四个阿里图标
在Vue2.0版本,src/assets/css 路径下存放iconfont.css ,可以在创建 custom_icon.css 用于自定义一些图标大小等样式。创建base.css 存放公共页面样式
base.js
1
2
3
4
| body {
padding: 0;
margin: 0;
}
|
引入公共CSS文件
App.vue
1
2
3
4
5
| <style>
@import 'assets/css/base.css';
@import 'assets/css/iconfont.css';
@import 'assets/css/custom_icon.css';
</style>
|
别名
@import 'assets/css/base.css' 该路径是运用了别名
webpack.base.config.js
1
2
3
4
5
6
7
8
9
| resolve: {
extensions: ['.js', '.vue', '.json'],
alias: {
'@': resolve('src'),
'assets': resolve('@/assets'),
'components': resolve('@/components'),
'views': resolve('@/views'),
}
},
|
创建tabBar组件
在 src/components/tabbar 路径下创建组件,tabbar文件夹用于存放tabbar相关文件,当在其它项目引用时,直接复制文件夹,完全独立。
创建如下文件
TabBar.vue
1
2
3
4
5
6
7
8
9
10
11
12
13
14
15
16
17
18
19
20
21
22
23
24
25
26
| <template>
<div id="tab-bar">
<slot></slot>
</div>
</template>
<script>
export default {
name: 'TabBar'
};
</script>
<style scoped>
#tab-bar{
display: flex;
background-color: #f6f6f6;
justify-content: center;
align-items: center;
position: fixed;
left: 0;
right: 0;
bottom: 0;
box-shadow: 0 -1px 10px rgba(100, 100, 100, .1);
}
</style>
|
TabBarItem.vue
@click="itemIsActive" 点击事件,用于添加激活效果
:style="activeStyle" 添加样式,activeStyle是一个计算属性,通过确认当前路由与传递的路由是否相等,来确认是否改变为激活颜色
<slot name="item-icon"></slot> 使用插槽,来改变不同的内容
1
2
3
4
5
6
7
8
9
10
11
12
13
14
15
16
17
18
19
20
21
22
23
24
25
26
27
28
29
30
31
32
33
34
35
36
37
38
39
40
41
42
43
44
45
46
| <template>
<div class="tab-bar-item" @click="itemIsActive" :style="activeStyle">
<slot name="item-icon"></slot>
<slot name="item-text"></slot>
</div>
</template>
<script>
export default {
name: 'TabBarItem',
props: {
path: String,
activeColor:{
type: String,
default: 'blue'
}
},
methods:{
itemIsActive(){
this.$router.replace(this.path)
}
},
computed:{
isActive(){
return this.$route.path.indexOf(this.path) !==-1
},
activeStyle(){
return this.isActive ? {color: this.activeColor}:{}
}
}
};
</script>
<style>
.tab-bar-item{
flex: 1;
text-align: center;
height: 49px;
}
.tab-bar-item div{
font-size: 12px;
margin-top: 1px;
}
</style>
|
MainTabBar.vue
activeColor="yellow" 改变默认颜色,传递yellow 也可以传递二进制
1
2
3
4
5
6
7
8
9
10
11
12
13
14
15
16
17
18
19
20
21
22
23
24
25
26
27
28
29
30
31
32
33
34
35
36
37
| <template>
<tab-bar>
<tab-bar-item path="/home" activeColor="yellow">
<span class="iconfont icon-home" slot="item-icon"></span>
<div slot="item-text">首页</div>
</tab-bar-item>
<tab-bar-item path="/category" activeColor="yellow">
<span class="iconfont icon-categories" slot="item-icon"></span>
<div slot="item-text">分类</div>
</tab-bar-item>
<tab-bar-item path="/cart" activeColor="yellow">
<span class="iconfont icon-goshopping" slot="item-icon"></span>
<div slot="item-text">购物车</div>
</tab-bar-item>
<tab-bar-item path="/profile" activeColor="yellow">
<span class="iconfont icon-profile" slot="item-icon"></span>
<div slot="item-text">我的</div>
</tab-bar-item>
</tab-bar>
</template>
<script>
import TabBar from '@/components/tabbar/TabBar'
import TabBarItem from '@/components/tabbar/TabBarItem'
export default {
name: 'MainTabBar',
components: {
TabBar,
TabBarItem
}
};
</script>
<style scoped>
</style>
|
引用组件
App.vue
1
2
3
4
5
6
7
8
9
10
11
12
13
14
15
16
17
18
19
20
21
22
23
24
25
26
27
| <template>
<div id="app">
<router-view></router-view>
<main-tab-bar />
</div>
</template>
<script>
import MainTabBar from './components/tabbar/MainTabBar.vue'
export default {
name: 'App',
components:{
MainTabBar
}
}
</script>
<style>
  @import 'assets/css/base.css';
  @import 'assets/css/iconfont.css';
  @import 'assets/css/custom_icon.css';
</style>
|
补充路由内容
在 src/views/ 路径下创建视图组件,如果没有view文件夹自行创建。
创建四个路由页面 Home.vue,Cart.vue,Category.vue,Profile.vue。在创建这些组件之前可以创建相应的文件夹例如 Home Profile ,因为一个页面可能会有多个组件,这样做便于管理
实例Home.vue
1
2
3
4
5
6
7
8
9
10
11
12
| <template>
<div class="">首页</div>
</template>
<script>
export default {
name: 'Home'
};
</script>
<style scoped>
</style>
|
在 src/router/index.js 文件下引入路由组件,使用懒加载方式
index.js
1
2
3
4
5
6
7
8
9
10
11
12
13
14
15
16
17
18
19
20
21
22
23
24
25
26
27
28
29
30
31
32
33
34
35
36
37
38
39
40
41
42
| import Vue from 'vue'
import Router from 'vue-router'
Vue.use(Router)
const Home = () =>
import ('../views/home/Home.vue')
const Category = () =>
import ('../views/category/Category.vue')
const Cart = () =>
import ('../views/cart/Cart.vue')
const Profile = () =>
import ('../views/profile/Profile.vue')
const routes = [{
path: '',
redirect: '/home'
},
{
path: '/home',
component: Home
},
{
path: '/category',
component: Category
},
{
path: '/cart',
component: Cart
},
{
path: '/profile',
component: Profile
}
]
export default new Router({
routes,
mode: 'history'
})
|
四个页面的路由是如何切换的呢,在TabBarItem.vue 文件有做路由跳转
TabBarItem.vue
1
2
3
4
5
6
| methods:{
itemIsActive(){
this.$router.replace(this.path)
}
},
|
当点击一个组件例如Home,那么执行绑定的方法事件,将该组件的path传递到组件,itemIsActive方法用replace 去切换路由


